Teo Technologies Condor Setup
REGISTERING THE PHOENIX CONDOR
In the TEO UC, set up the user with a Softphone. Follow normal procedures to get that operational. Test to make sure Softphone is working before moving on to the Condor.
For assistance with the Softphone, please visit the follow link: https://www.teotech.com/forms/helpform-softphone-win.php
SETUP THE PHOENIX CONDOR MT600
- Connect external powered speaker or sound bar using either the Optical OUT connector, or the Analog Speaker OUT connectors, located in the back panel of the Condor.
- Plug the micro USB end of the USB cable into the back of the Condor.
- Plug the USB end into the USB port on the PC with the softphone.
- Your PC should automatically download the drivers for the Condor.
- When the drivers are finished downloading go into your Softphone > Help > Troubleshooting.
- In section 1 select the drop down menu and choose “Microphone (Phnx MT600)
- In section 3 select the drop down menu and choose “Speakers (Phnx MT600)
- If you wish to test to see if the microphone is picking up sound, you can speak normally and see if the bar in section 2 reacts to the noise.
- If you wish to test the speakers you can click the “Play” button in section 3 to play test music through your speakers.
- Click Done
SETUP PHOENIX DIALER
- Plug Ethernet cable between the back of the Condor and the POE port on your switch.
- From a computer within the same network, download the Phoenix Audio SIP Dialer- http://www.phnxaudio.com/downloads/sip-dialer/
- Once downloaded, launch the dialer and go to setting (cog wheel in upper right) > Note the IP address.
CONDOR SIP CONFIGURATION
STEP 1. GUI LOGIN
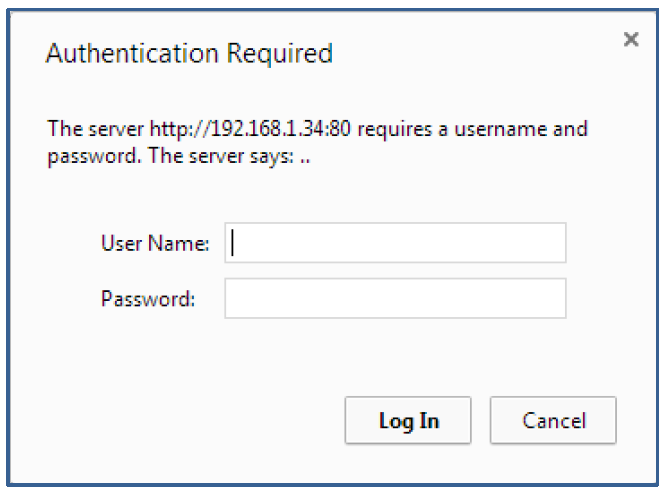
- Type the IP address of the Condor, found in Phoenix Audio Dialer, in your browser’s address window and press enter.
- When prompt with the opening screen of the GUI, type admin as the user name and 1234 as the password.

STEP 2. QUICK SETUP
- From the menu select Quick Setup and configure the settings under SIP Proxy and Registrar
- Use SIP Proxy: Enable
- Proxy IP Address or Host Name: the IP or name of the TC server
- Proxy Port: Match the port number from the System > SIP/MEDIA > PROX/REGISTRAR PORTS > TCP/UDP section in TEO UC
- Use SIP Proxy IP and port for Registration: Enable
- Use SIP Registrar: Disable
- Display Name, enter any desired text
- The Line Setting should match those created in the TEO UC
- Click Submit
STEP 3. SIGNALING PROTOCOLS
- From the menu select: Voice Over IP > Signaling Protocols
- SIP Local Port: 5066
- Gateway Name: The name of the realm you are registering to
- Enalbe Keep Alive using OPTIONS: Enable
- Keep Alive Period: 10
- Use SIP Proxy: Enable
- Proxy IP Address or Host Name: name or IP of TC you are using
- Proxy Port: match proxy port from Quick Setup section
- Click Submit


